Lutradur Kite – a Gift to Make for Father’s Day
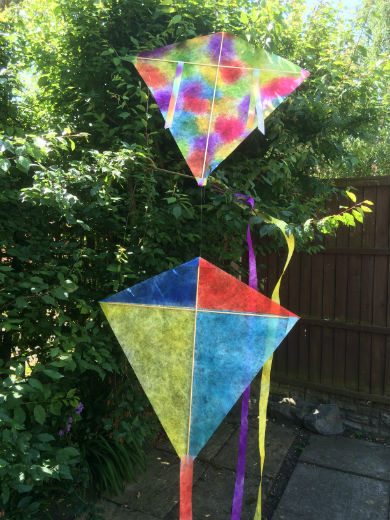
Father’s Day is just around the corner and this is one gift every family member can help to make, no matter what their age or ability. With elements of measuring, design and painting, everyone can help with the construction – not to mention mastering the best flying technique!
We used Lutradur 70gsm to make our kites, because it is very strong, yet still lightweight. It doesn’t rip, fray or need hemming, which makes it ideal for projects such as this.
Here’s what you will need –
- One square metre of Lutradur 70gms per kite
- Measuring tape
- Transfer or acrylic paints
- 2 metres x 6mm wood dowelling
- Handsaw
- 6 metres of ribbon or tape
- Stapler
- Kite string
Here’s how –
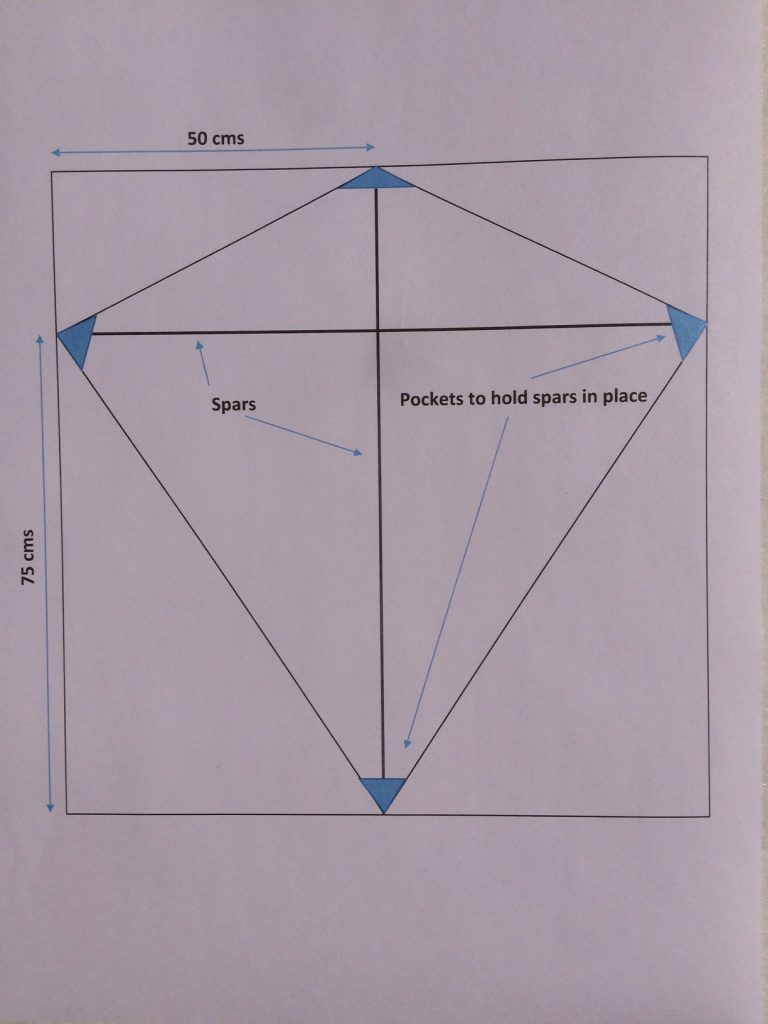
1. First lay the Lutradur 70gsm flat on the floor or on a table. Carefully measure and mark a point 75cms from the bottom edge on the left and right side of the material.
2. Draw a line from the centre of the bottom edge to the 75cms marks. Then draw a line from the centre of the top edge to the 75cms mark to create a diamond shape (as shown in the diagram below).
3. Carefully cut out the sail, saving the four triangular offcuts.
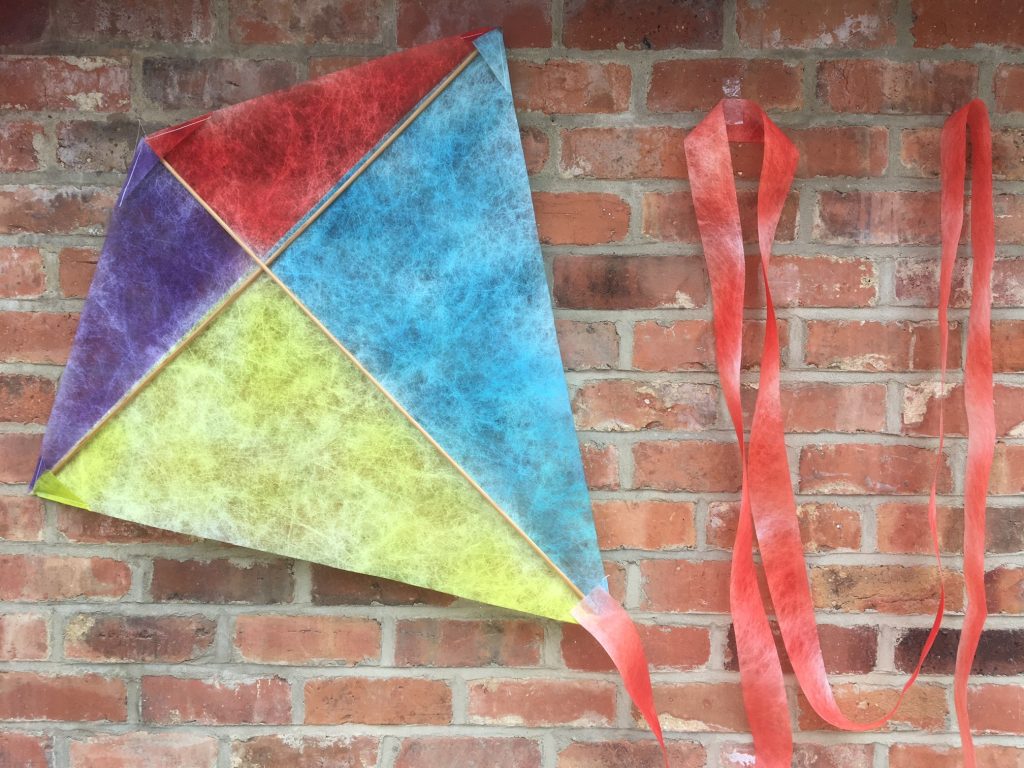
4. Now think of a design or pattern and decorate your sail. We chose transfer paints to colour the Lutradur because they don’t run or fade, but you could use acrylic paints instead if preferred.
5. Next, cut four triangular pieces from the saved offcuts large enough to form pockets at each corner of the sail to hold the spars. We used the sail as a pattern to cut these to size and then sewed them on to the underside of the kite, although they could be stapled or taped if preferred.
6. Using the handsaw, cut two spars from the length of dowel to form the vertical and horizontal braces for the sail. Lay the dowel across the kite to mark the required lengths, ensuring a taut and snug fit when the spars are inserted into the pockets, so the sail stays nice and rigid.
7. For extra support, tie the spars together where they cross with tape or string.
8. Make a tail using ribbon or tape. (This needs to be at least 5 metres long for a kite of this size) and attach to the base of the kite.
9. Bows or ties can also be made from the offcuts and attached to the tail to give the kite extra balance.
10. Attach a piece of string to the horizontal spar on either side of the centre and a third piece to the vertical spar and join them together to form a triangle.
11. Tie the main kite string to those on the kite.
12. Head off to the park!
When not in use, the kites also make interesting room decorations, maybe for a child’s bedroom or conservatory wall or ceiling.
To view our entire range of Lutradur, please visit our online shop